How to design the perfect eCommerce checkout flow: Examples and best practices
If there’s one part of every eCommerce store that should not be forgotten, it’s the checkout flow. Every customer will go through your checkout flow, so it’s vital to get it right.
Luckily, there are plenty of great checkout flow examples out there. Below, you’ll find inspiration and ideas to optimise your own ecommerce checkout process so you can convert even more customers.
What is a checkout flow?
A checkout flow is the series of steps a customer goes through to complete their purchase.
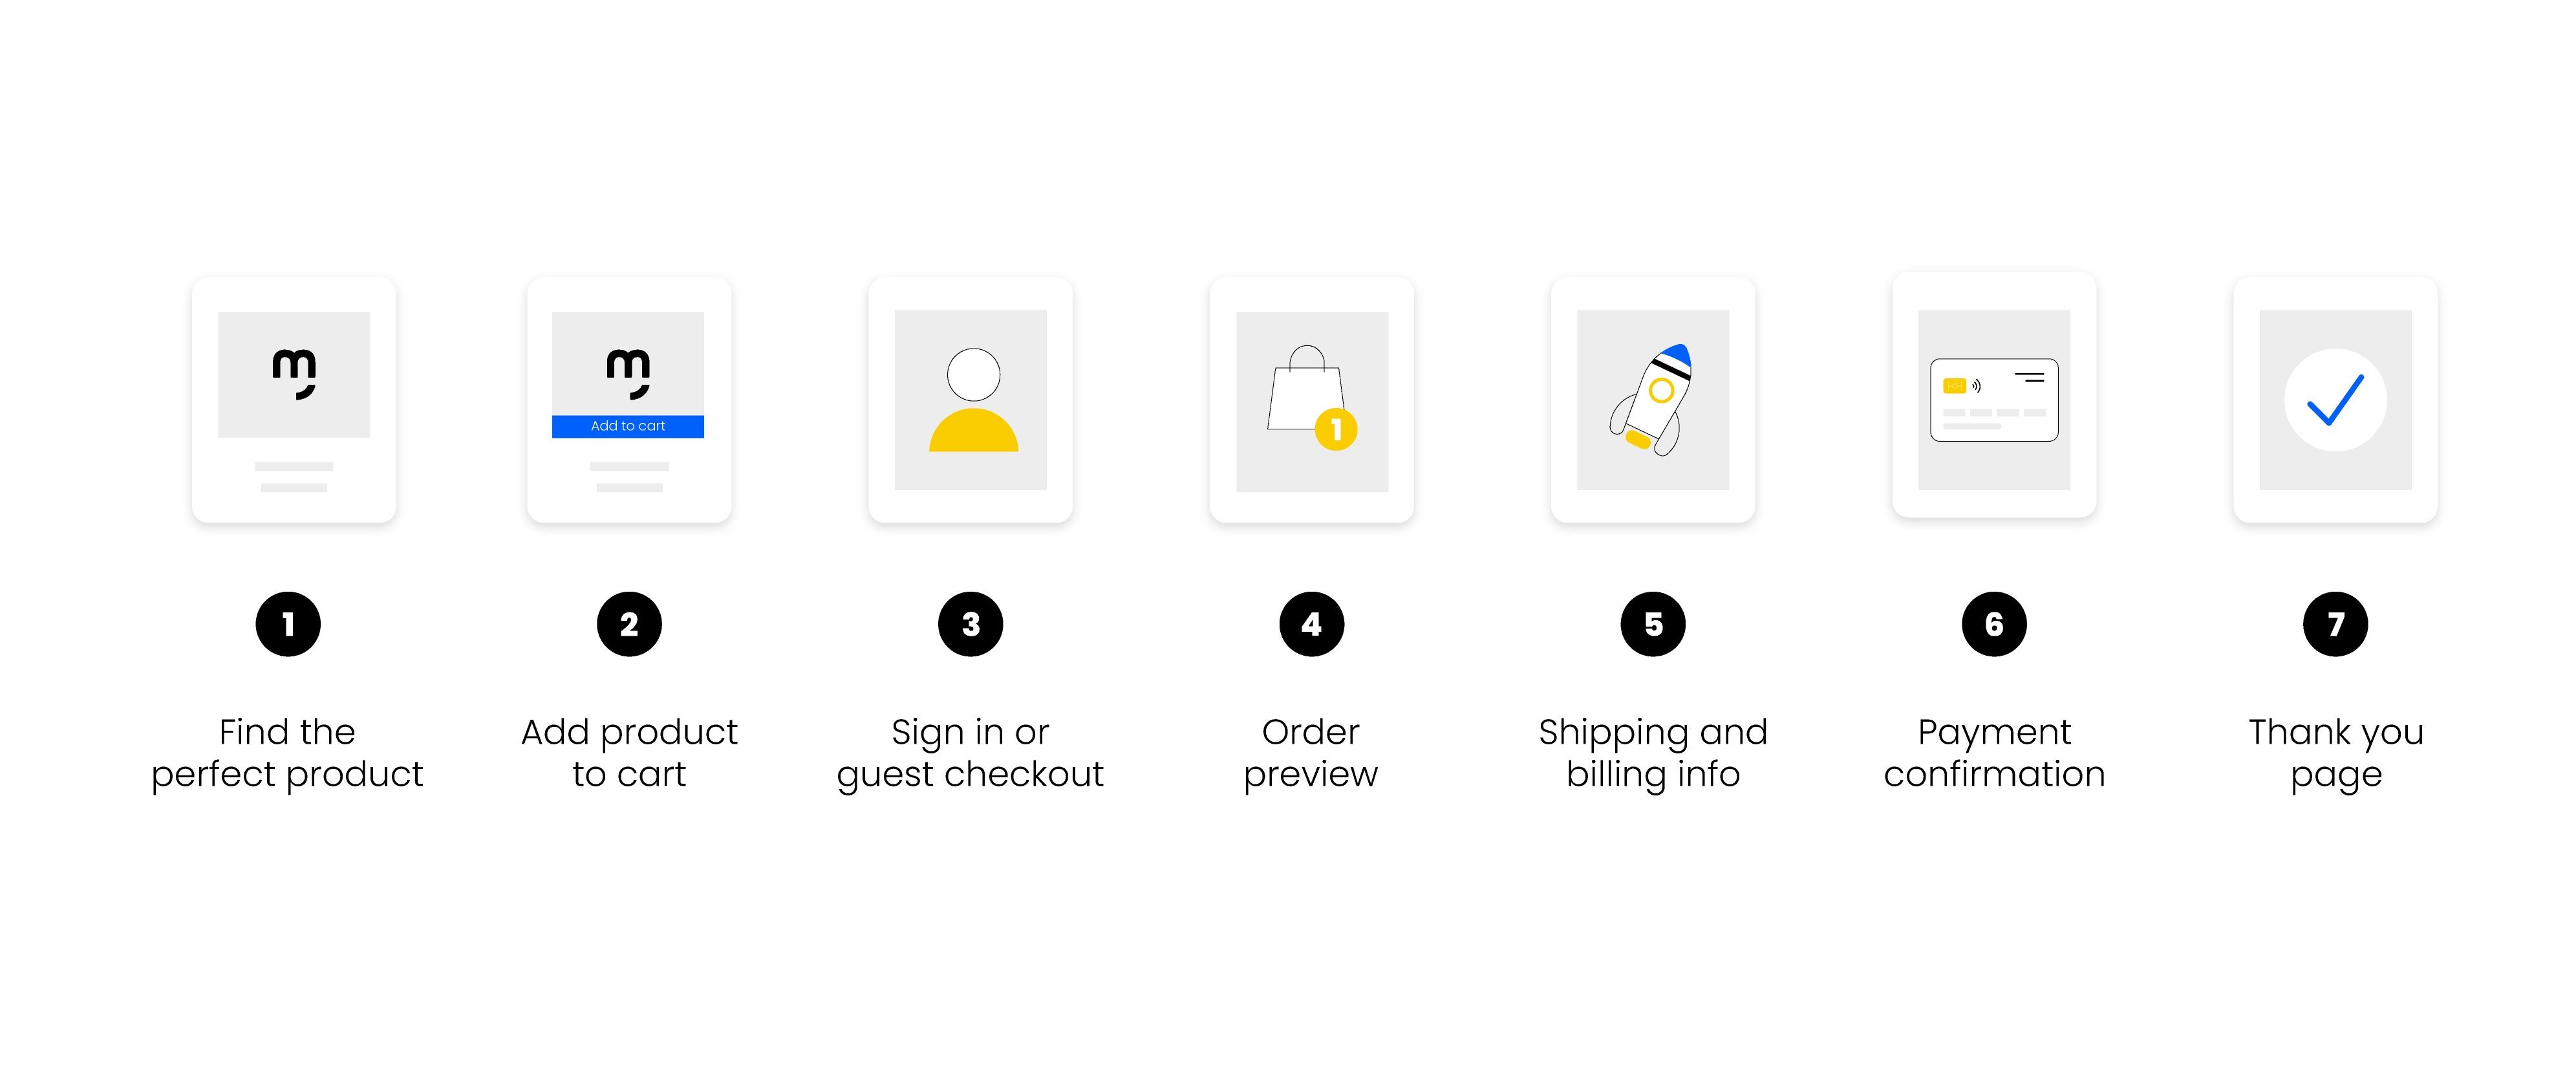
What are the key steps in a checkout flow?
- Find the perfect product
- Add product to cart
- Sign in or guest checkout
- Order preview
- Shipping information
- Billing and payment information
- Thank you page
Ecommerce checkout flow best practices
1. Create great product pages that sell
If customers aren’t adding products to their baskets, then it doesn’t matter how good your checkout flow is. That’s why every great checkout flow starts with the product page.
A great product page balances simplicity with information. It answers the questions a customer may have and makes your product irresistible. That means using breadcrumbs, dropdowns, FAQs and more.
If you need some inspiration, you can see the best examples of product pages here:
The best product page examples in 2023 [with best practices]
2. Make your Add to Cart irresistible
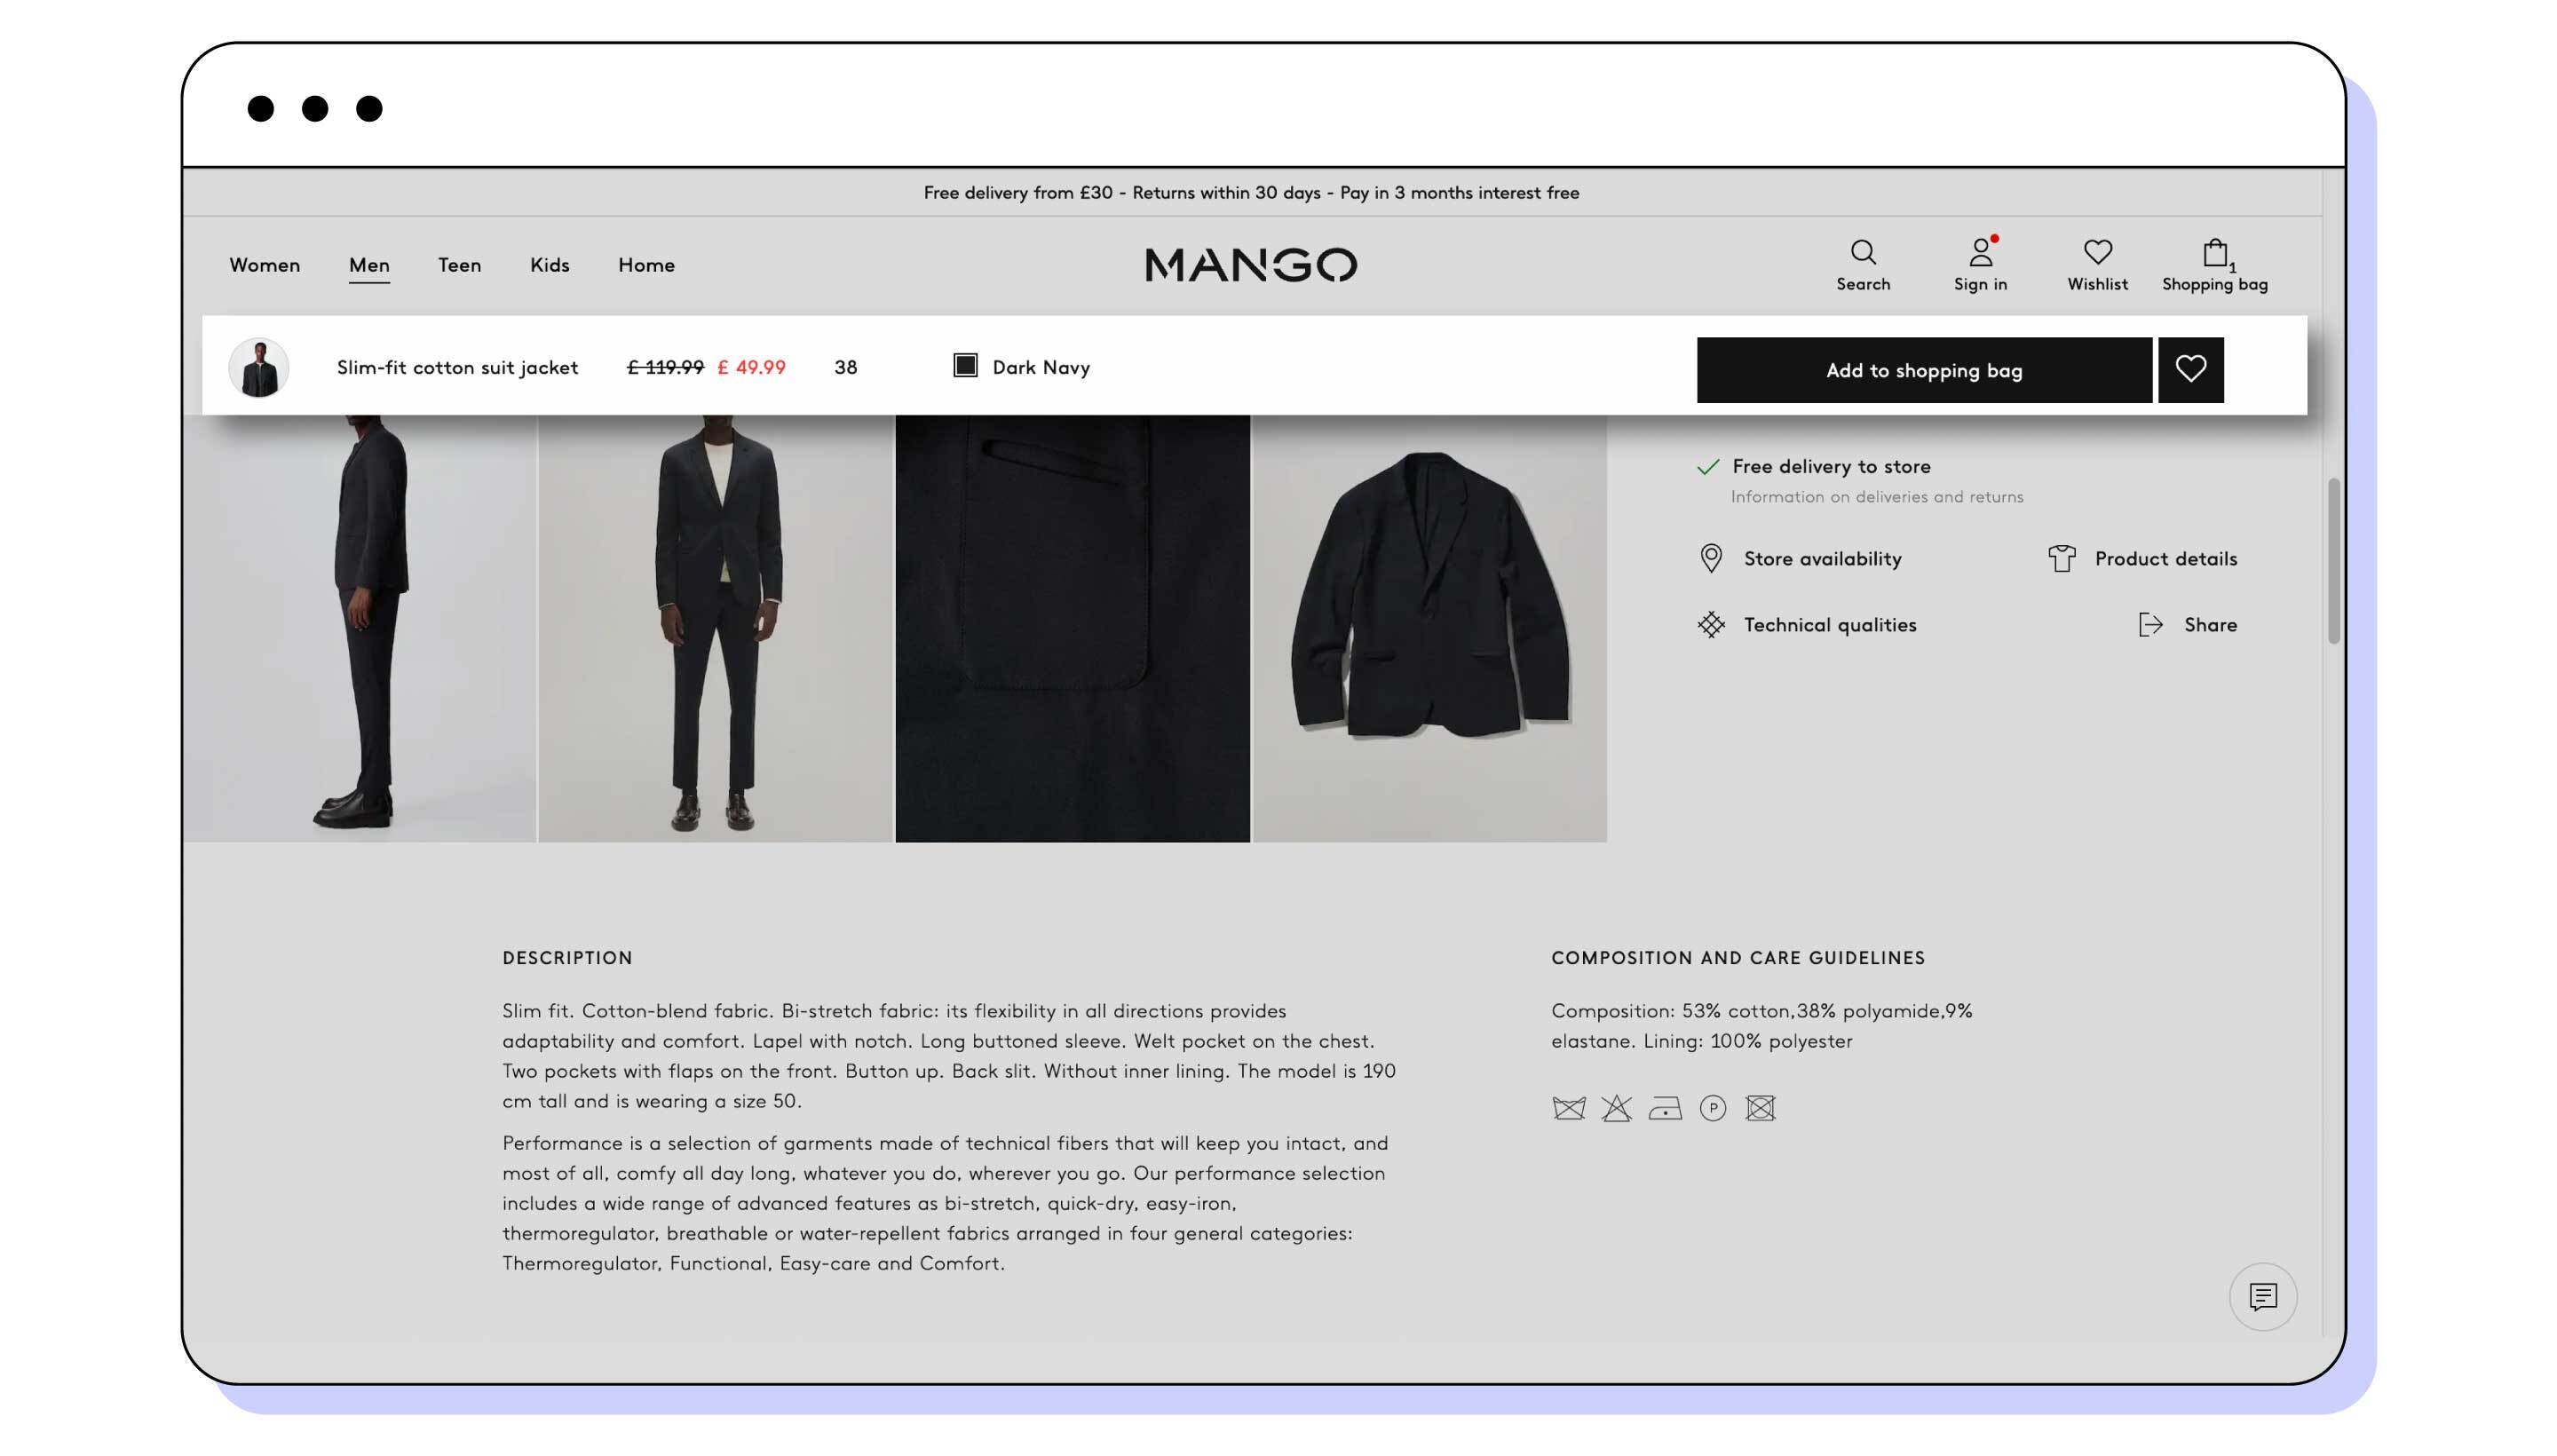
Your add to cart should be easy to find and click at all times.
One of the best examples of this is fashion retailer Mango. Its add to cart button becomes fixed to the top of the page once you scroll beyond it. The upper bar also contains a thumbnail of the product, its size, colour and price.
Not only is this extremely clever, but also tastefully done. Displaying the add to cart button and product information like this feels helpful, rather than intrusive.
The knock on effect? More products added to shopper baskets.
But there’s one more vital design detail for the add to cart button.
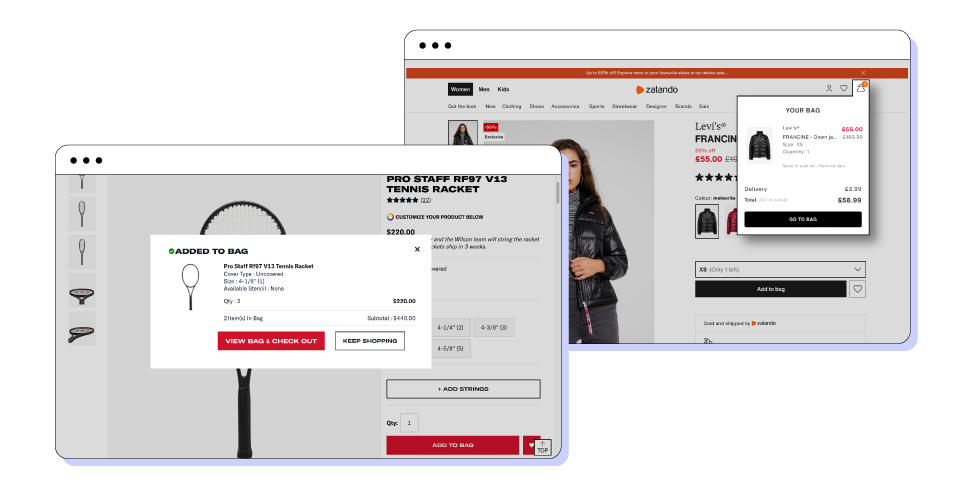
When customers do click your add to cart button, avoid taking them directly to checkout. Instead, display a message showing that the item has been added to cart with a preview.
There are a number of different ways to preview items added to your customers cart. The most common are a drop down bag, like Zalando, or a lightbox, like Wilson.
3. Provide guest checkout
Your checkout flow should make it as easy as possible to purchase your products.
While registering for an account can make future purchases easier, always let your shoppers check out as guests. By providing this option, Zara makes it easy for customers who may not want to make an account to still buy from its online store.

Making shoppers create an account adds another hurdle. Plus, you can always ask the customer if they’d like to create an account at the end of the process using the details they’ve added.
If you offer customers the option of logging in or creating an account, you can make this process simpler by letting them log in or sign up with Google, Facebook, Instagram etc.
4. Don’t saturate the buyer with information
The simpler your checkout flow is, the more likely you’ll make a sale. However, there’ll always be information like shipping and payment that you’ll need to ask your customers for.
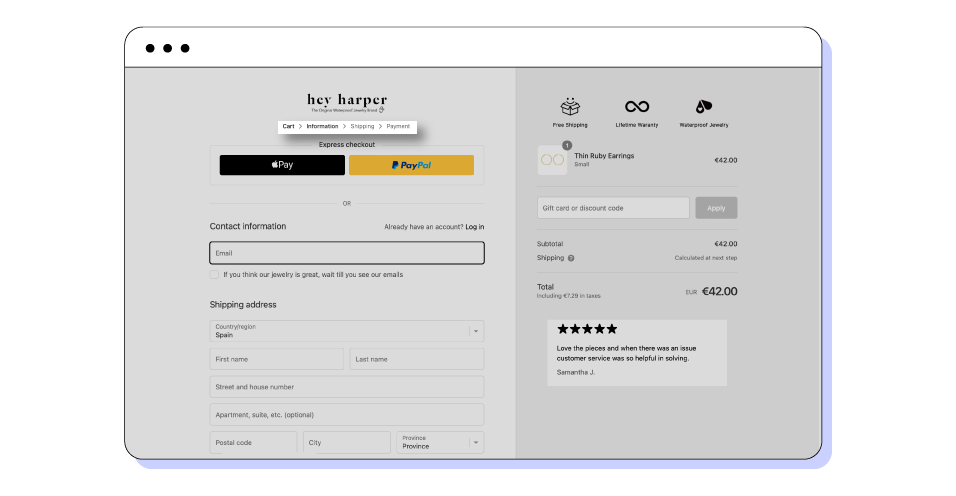
By clearly displaying the steps of your checkout flow, you can manage customer expectations and let them know the steps needed to purchase your products.
Waterproof jewellery brand Hey Harper does a great job of this. It displays the checkout flow at the top of each page so the customer can see the steps they’ve completed and what still needs to be done.
5. Show a preview of the order
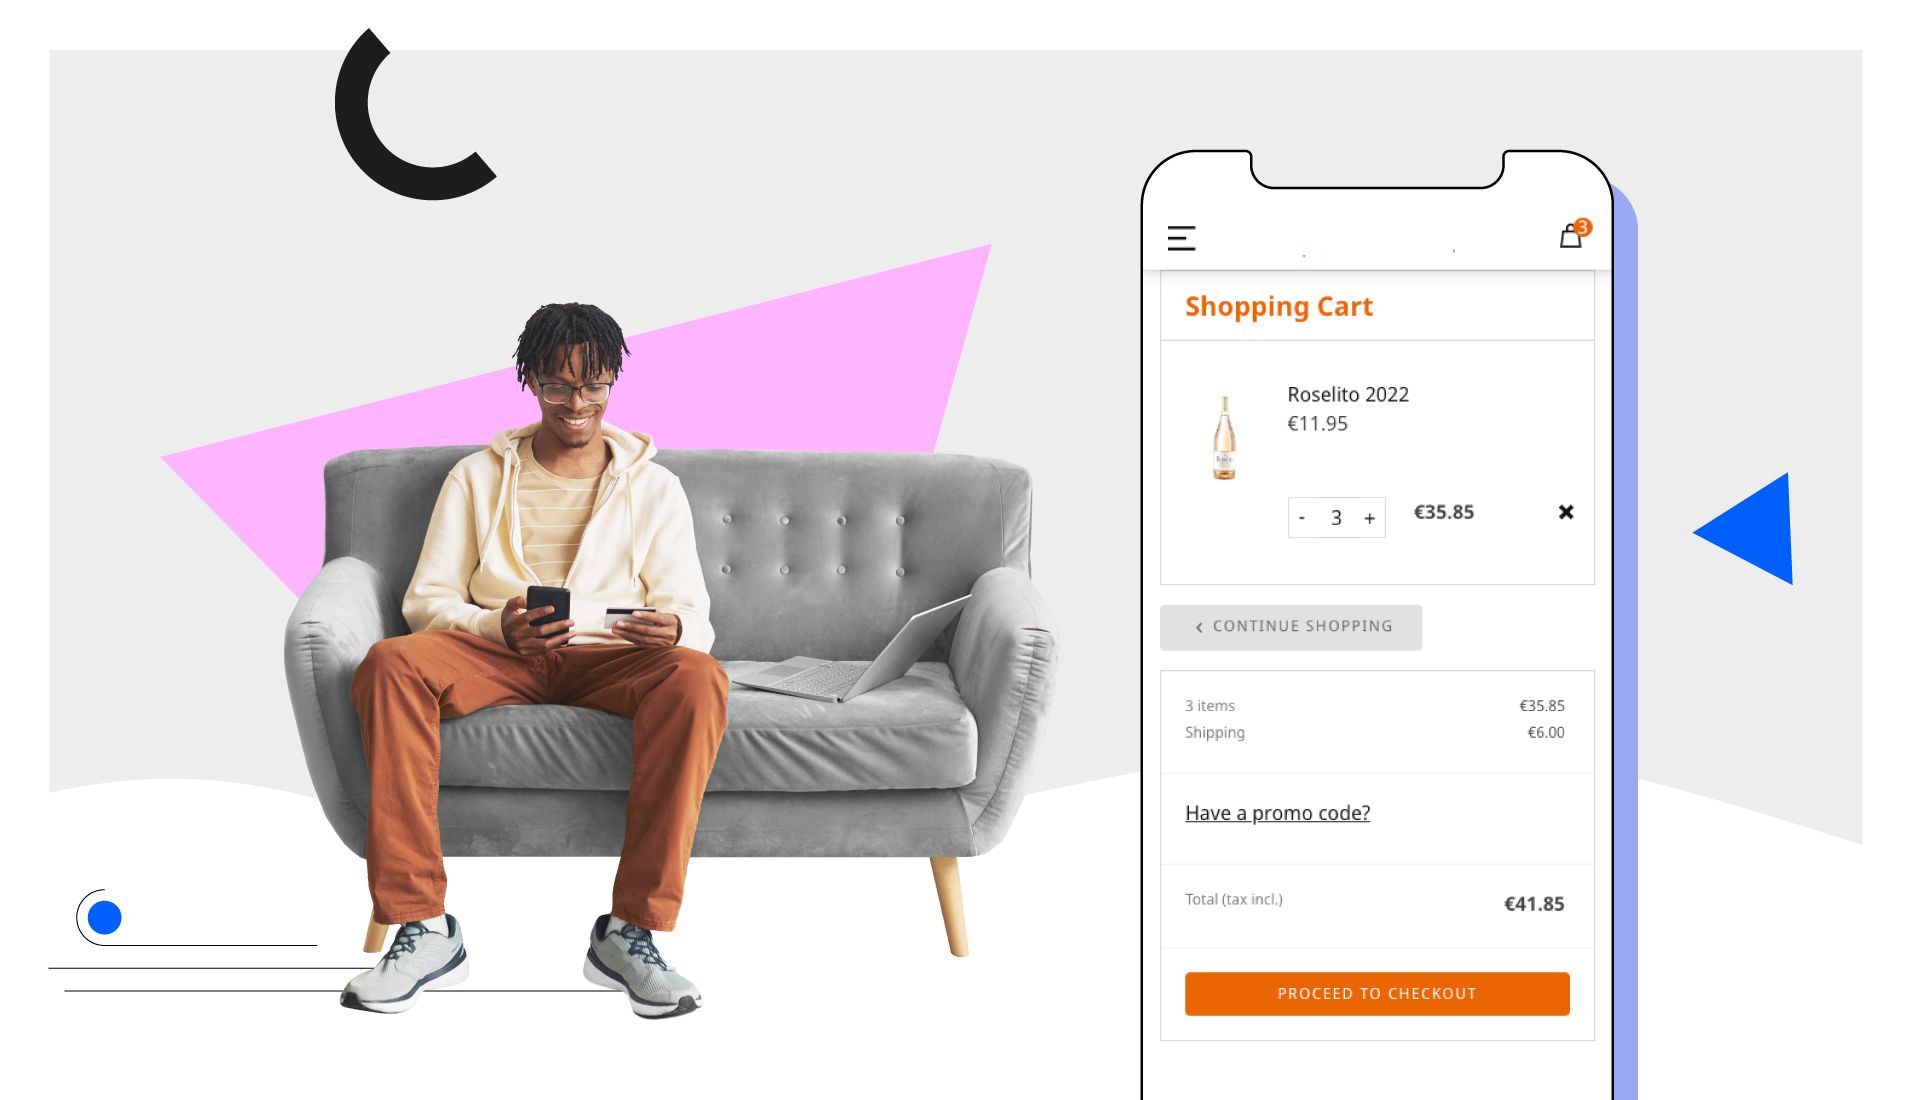
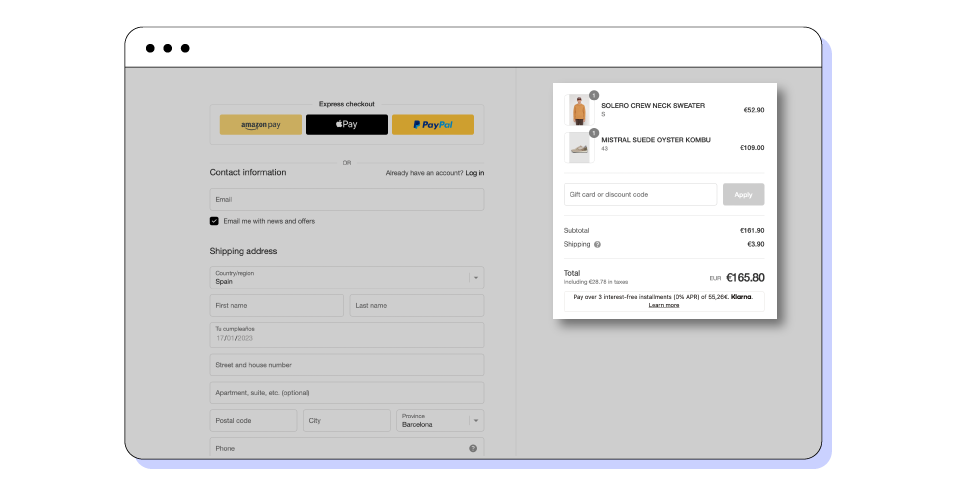
Once customers are in your checkout flow, it’s always a good idea to keep a preview of their order on screen.
Shoppers want to make sure they’re buying the right items. By displaying the items in the cart, you make it less likely that a shopper will leave before finishing their purchase.
A great example of this is the fashion brand Pompeii. Its checkout flow not only shows the product name, but also the product image. The brand displays the quantity, price, delivery costs and discounts making it a perfect example.
6. Simplify shipping and billing information
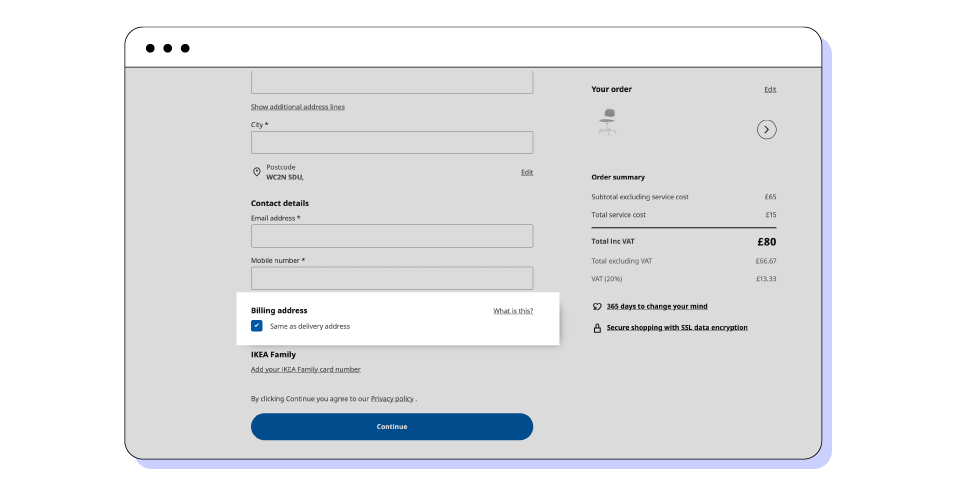
Shipping and billing information are often the same, but not always. A customer might use a different billing address if they’ve bought a gift, for example.
For this reason, you’ll need to let customers enter separate shipping and billing information. To simplify the process, you can take a leaf out of the Ikea playbook.
Ikea adds a checkbox that lets its customers use the same billing address as the one they’ve just filled in for shipping. Not only does this simplify the process, but it also reduces clutter and allows Ikea to reduce the number of steps in its checkout flow. It no longer needs a separate page for shipping and billing as is often the case.
7. Show error messages and define what the error is
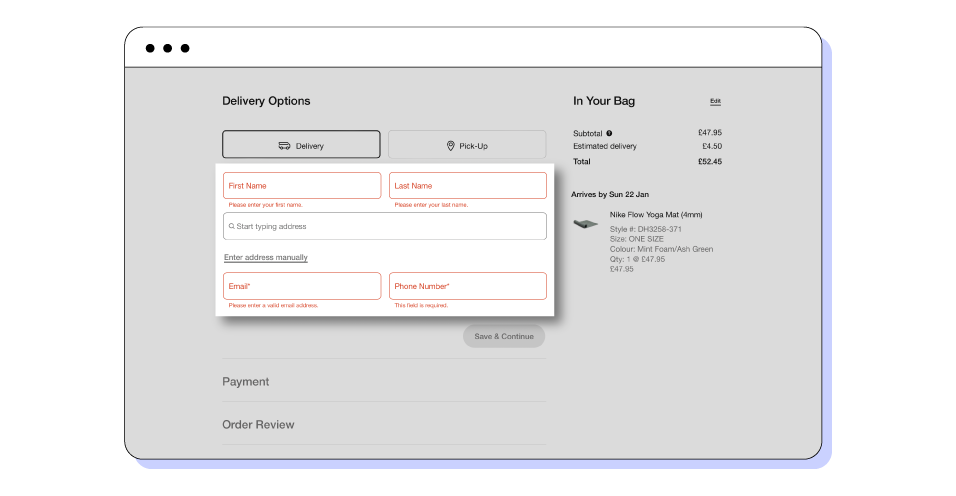
There is certain information you’ll need to collect to make sure an order can be completed.
By displaying clear error messages, Nike makes sure its customers know why they can’t click continue. These error messages should be clear and concise so that the customer doesn’t become frustrated and abandon the checkout.
8. Offer multiple payment options
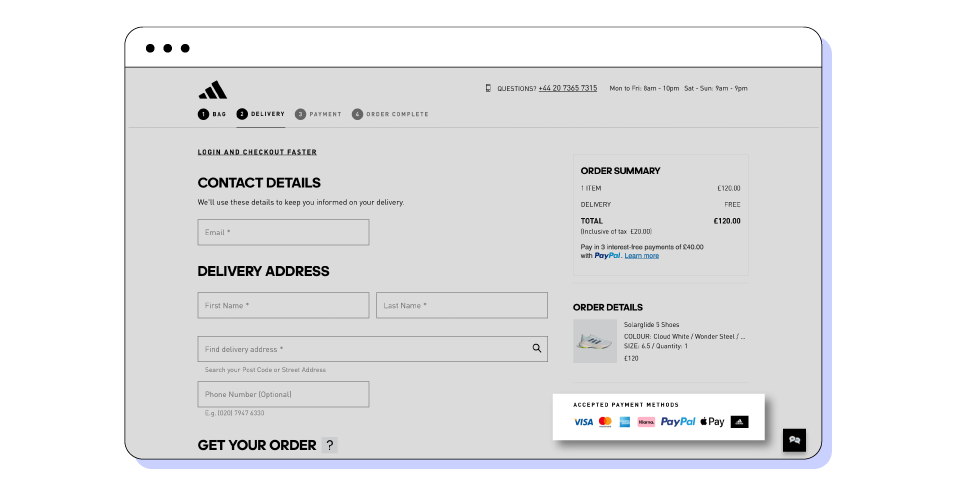
A great checkout flow reduces friction at all stages. By offering multiple payment options, you ensure that the customer is happy to pay the way they feel most comfortable.
Credit and debit cards are most common, but other payment methods include digital wallets like Apple Pay, as well as alternative payment methods like PayPal.
Your payment page should display the security badges and logos of the payment options you provide to build trust.
Many ecommerce stores also offer buy now, pay later options. While not vital to have, this is another payment option that may help your customers get over the line.
9. Confirm the payment…
Usually on the same page as the payment details, the payment confirmation is the button that confirms the order. Once your shopper clicks it, the order is complete.
10. Get creative with your Thank You page
Once the order has gone through, it’s always good to display a Thank You page.
The main function of the thank you page is to confirm that the order has been placed successfully.
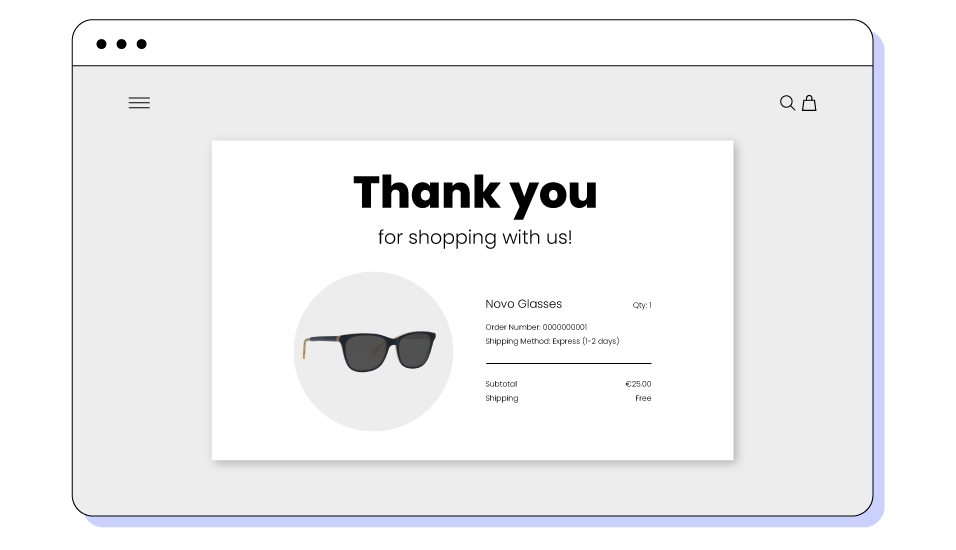
But the thank you page is also a chance to show the customer what they just ordered. Many brands use it to offer a discount code for future purchases. The page can display other popular items in your shop. It can be the perfect place to nudge customers to sign up for your newsletter.
Your thank you page can include reviews and social proof, or you can include a short survey of the checkout experience.
Cross selling and upselling in your checkout flow
The checkout flow of your ecommerce store can also be used to increase the average basket size of your shopper by implementing cross-selling and upselling techniques.
What’s the difference between cross-selling and upselling?
Simply put, the goal of cross-selling is to add extra products to the cart, while upselling attempts to convince a customer to upgrade the item that’s already in their cart.
Many brands choose to upsell or cross-sell in their checkout flow, but it’s not a necessary step. In fact, depending on the characteristics of your product, you may not be able to upsell at all.
Examples of cross-selling in eCommerce
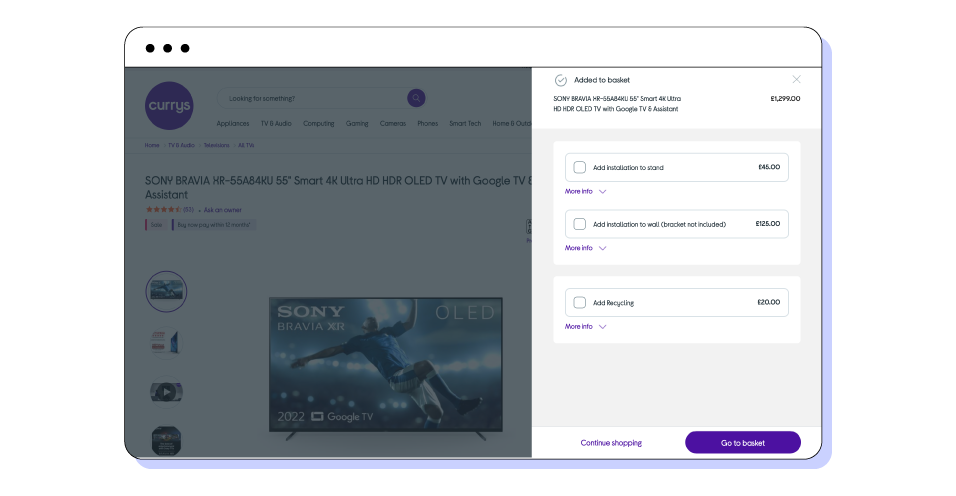
Many brands instead choose to cross-sell. The most successful cross-sells work through a brand's understanding of its customers.
The technology retailer Currys offers a different cross-sell depending on the item being purchased. In the example below, shoppers buying a TV are offered installation and recycling. A furniture store may cross-sell by offering fabric cleaner.
10 keys to a high converting eCommerce checkout flow
- Create a product page that sells
- Make your add to cart irresistible
- Provide the option of guest checkout
- Don’t saturate the buyer with information
- Show a preview of the order
- Simplify the shipping and billing pages
- Show and define error messages
- Offer multiple payment options
- Confirm the payment
- Get creative with your thank you page